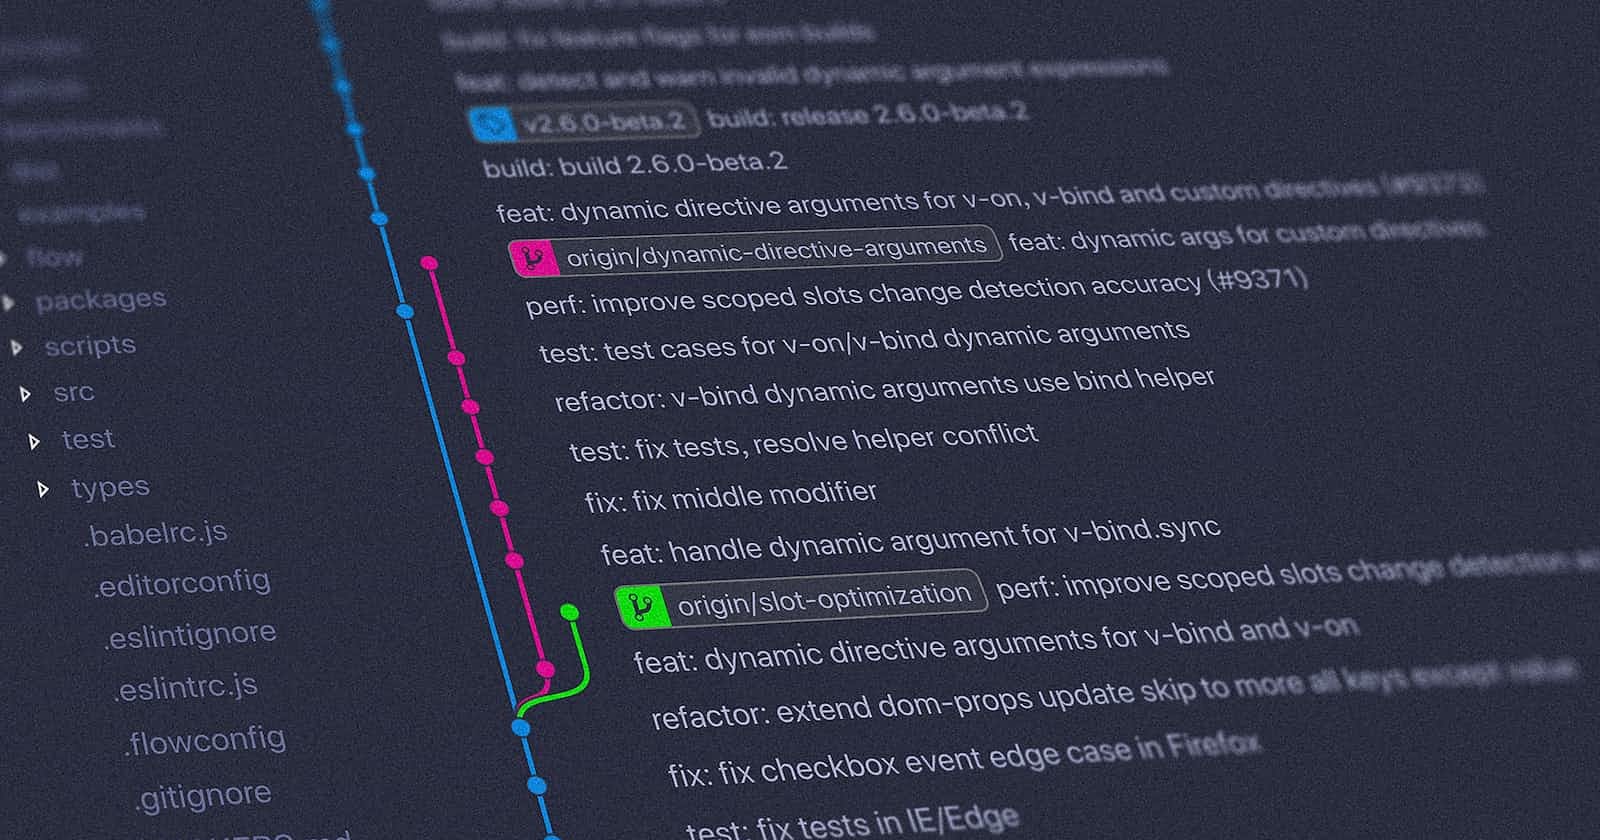
Making changes in code and creating commits in Git
Making changes in your code and creating commits is a fundamental aspect of using Git for version control. Commits represent snapshots of your project's state at specific points in time and help you track the history of your changes. Here's how you make changes and create commits in Git:
Edit Your Code:
Open your code files in a text editor or an IDE.
Make the desired changes to your code, such as adding new features, fixing bugs, or updating documentation.
Check the Status:
- Before creating a commit, it's a good practice to check the status of your working directory. Use the
git statuscommand to see which files have been modified.
- Before creating a commit, it's a good practice to check the status of your working directory. Use the
Stage Changes:
Use the
git addcommand to stage the changes you want to include in the next commit. Staging prepares your changes for commit but doesn't create a commit yet.You can stage individual files or specific changes within files using the
git addcommand. For example, to stage all changes in a file:git add path/to/your/file
Review Staged Changes:
After staging changes, you can use the
git diff --stagedcommand to see the differences between your staged changes and the previous commit.
Create a Commit:
Once you've staged your changes, use the
git commitcommand to create a commit. A commit records the changes you've staged along with a commit message describing the purpose of the changes.The commit message should be clear and concise, explaining the why and what of the changes. For example:
git commit -m "Added new feature X"
Repeat for Additional Changes:
- Continue making changes, staging them, and creating commits as needed. Each commit should represent a logical unit of work.
View Commit History:
You can use the
git logcommand to view the commit history of your repository. This shows a list of commits along with their commit messages, authors, timestamps, and unique commit hashes.

